My Personal eGPU Server Setup
How to Run and Train LLMs Locally with NVIDIA Chips from a Mac & Linux Setup
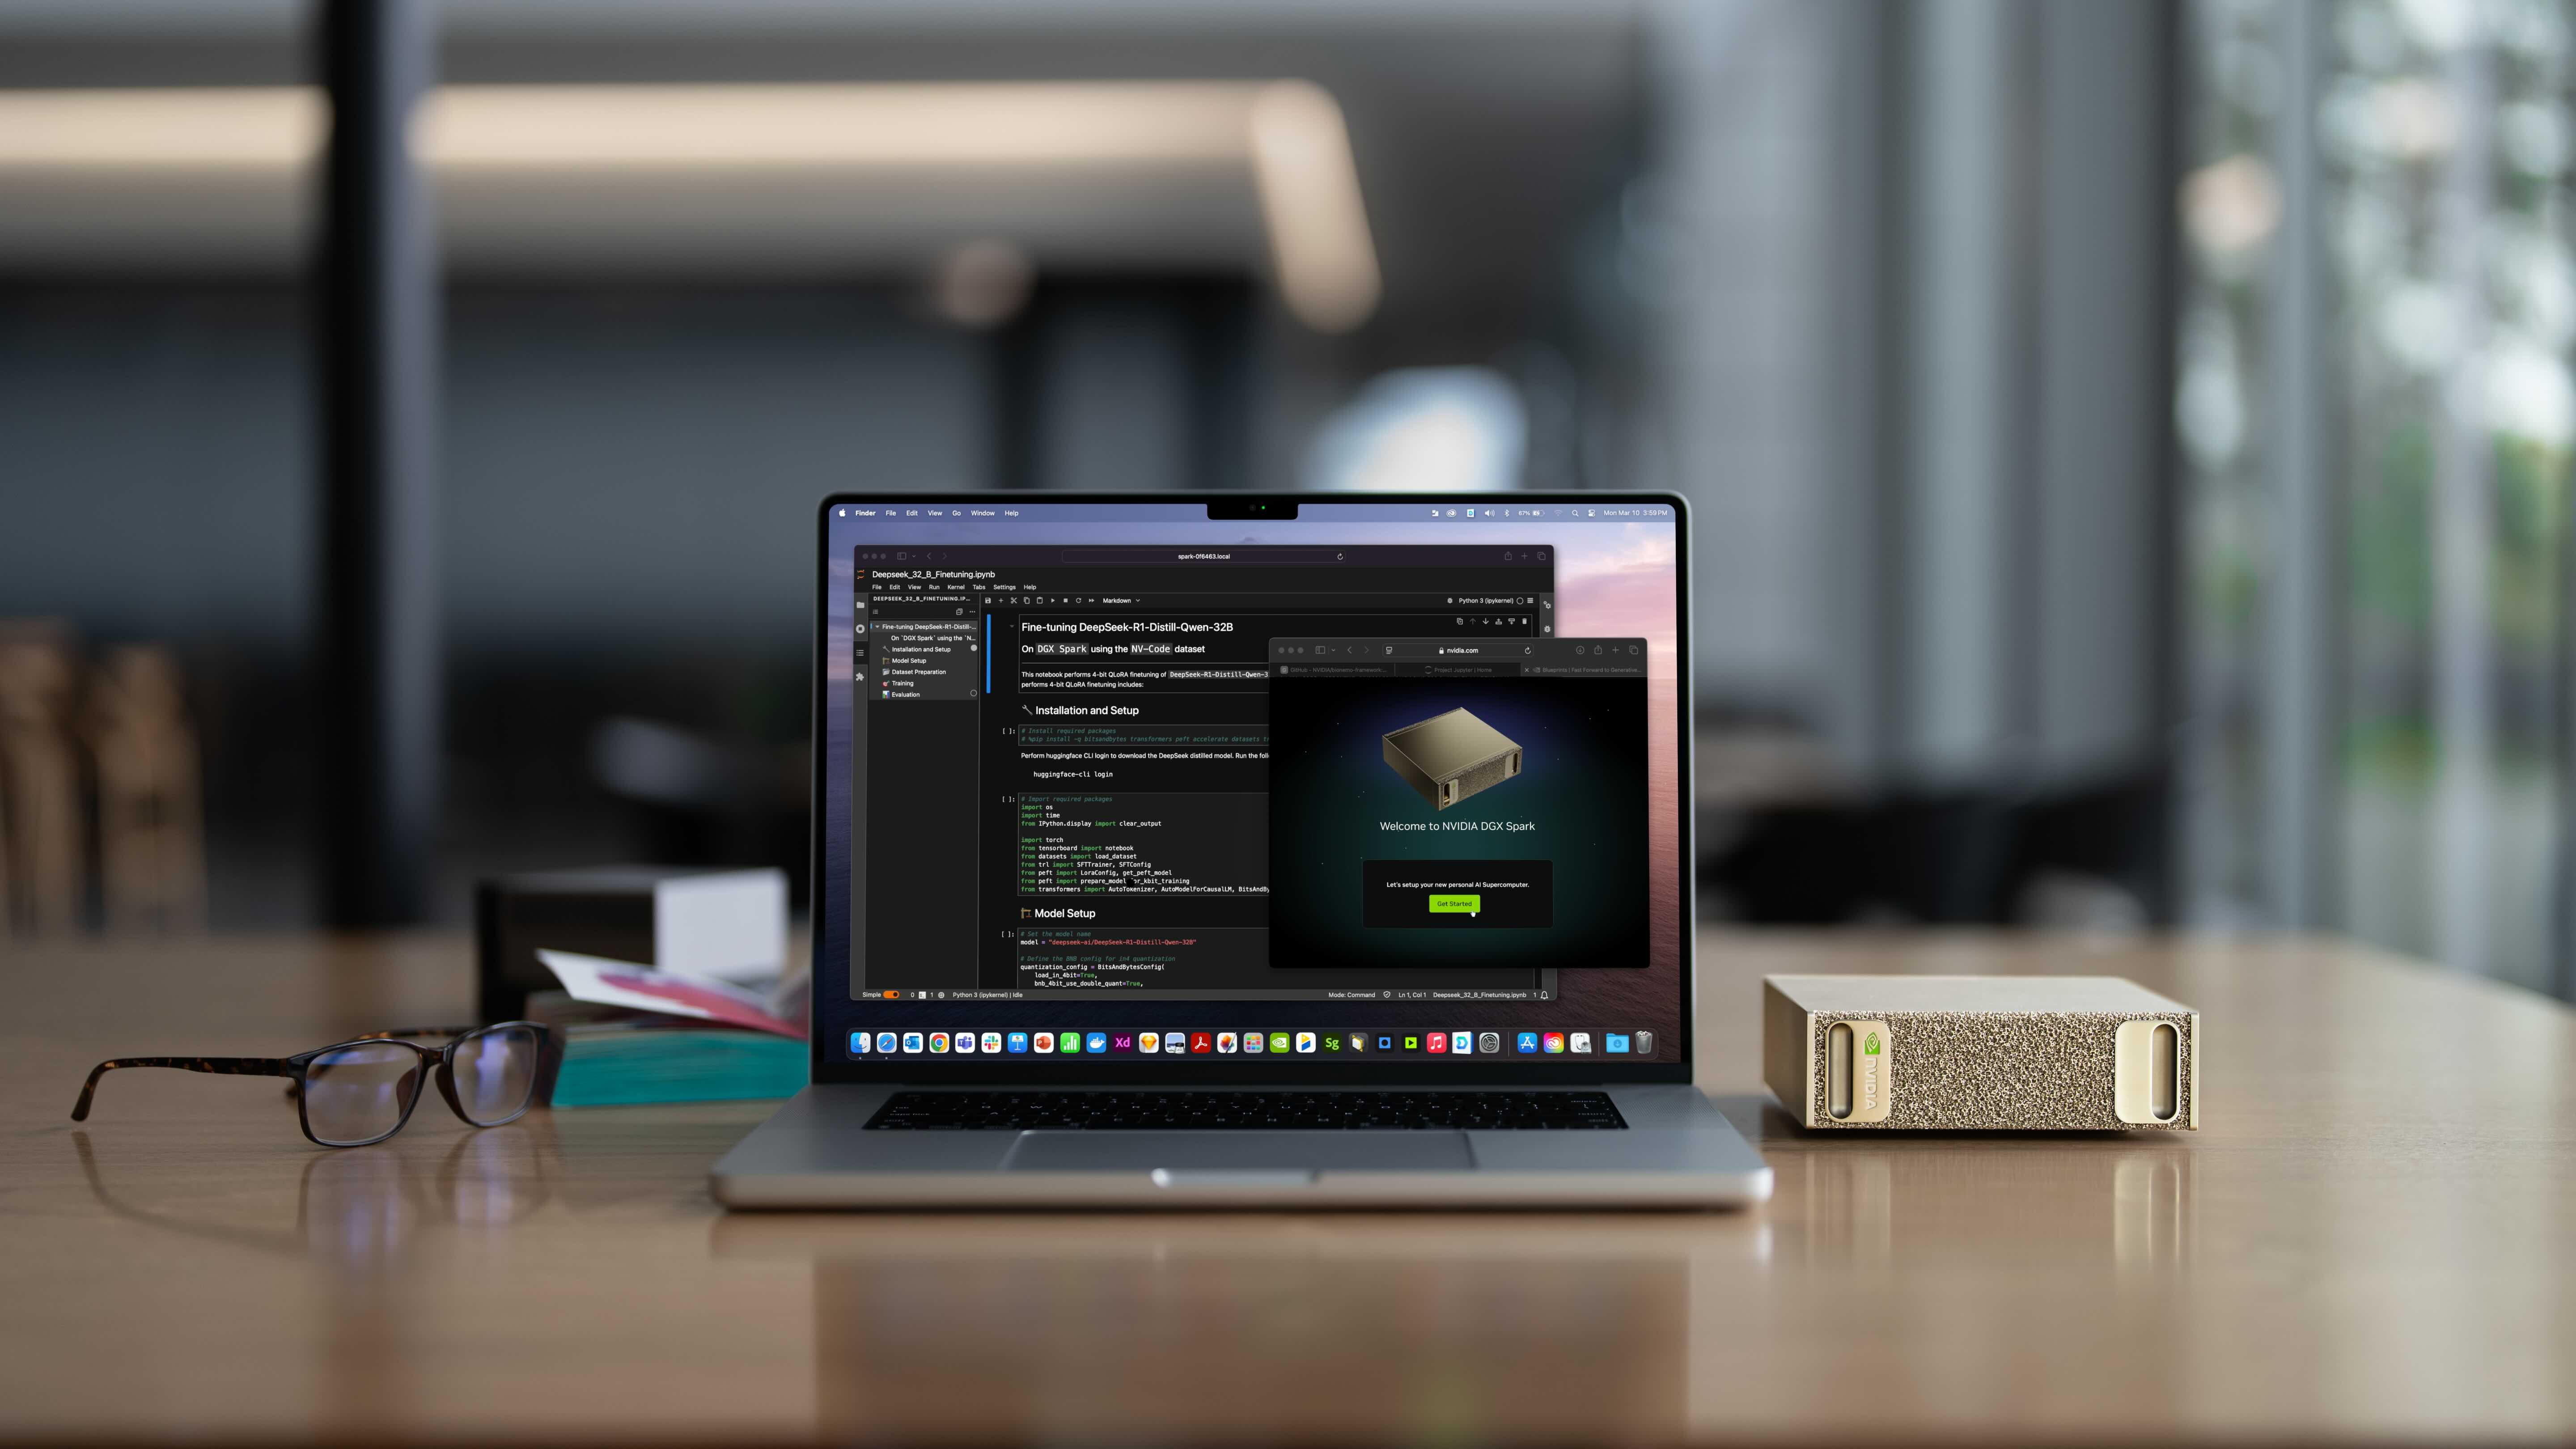 This blog post is not about the NVIDIA DGX Spark. Instead, it's about my eGPU setup, the personal supercomputer I've been using the past 2 years. Image from NVIDIA.
You may have seen the release of the NVIDIA DGX Spark, the new personal supercomputer from NVIDIA. With 128 GB of memory, 20 CPU cores, and a price tag of USD $3,999, it’s sure to land on many AI enthusiasts’ wish lists this Christmas.
This post presents my own, more modest alternative. For the past two years, I’ve been using an NVIDIA eGPU (external GPU) connected to my MacBook Pro M1 — but running through a Linux machine that acts as a dedicated server. After several colleagues and friends showed interest, I decided to document the entire setup on GitHub as the guide I once looked for but never fully found. In this post, I’ll introduce the overall setup and explain the motivation behind it.
Here’s the schematic of my personal supercomputer:
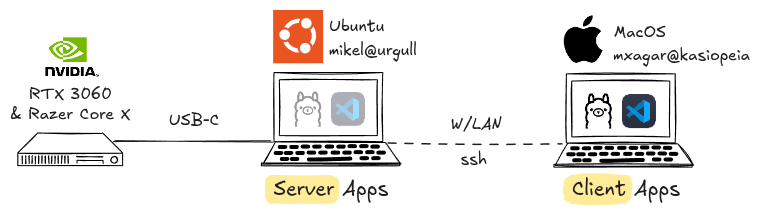 My eGPU setup consists of a MacBook M1 and a Linux server with an NVIDIA eGPU.
I mainly use the eGPU to train general Deep Learning models (with VS Code Remote Development) and to run LLMs locally (with Ollama); as illustrated in the figure above:
- I have a Lenovo ThinkPad P14s with an integrated NVIDIA Quadro T500 graphics card, running Ubuntu.
- I attach to a Thunderbolt port of the Lenovo a Razer Core X External Case, which contains a NVIDIA GeForce RTX 3060 (12GB of memory).
- I run applications which require GPU power on the Lenovo/Ubuntu but interface with them via my MacBook Pro M1.
You might ask why I would want to run and train models locally, since we have many cloud services available that spare us the hassle. Here’re my answers:
- Many models (LLMs or any other DL networks) can be used locally for a fraction of the cost required by cloud providers; in fact, the NVIDIA RTX 3060 with 12GB is quite similar to the often offered low tier GPU, the NVIDIA T4. Model deployment often requires private or public cloud services, but experimentation, prototyping, and small-scale training can be done locally.
- Local models allow you to process data confidentially: running models locally allows you to process sensitive or proprietary data (e.g., personal notes, internal reports, or corporate documents) without uploading them to third-party servers. This means full control over your data lifecycle, compliance with privacy policies, and peace of mind knowing that no external provider logs or stores your content.
- We avoid dependence on cloud services if we run models locally: while cloud platforms provide flexibility, they also create a point of failure and an ongoing dependency on external infrastructure and pricing. Outages like the AWS downtime of December 2021 or the more recent AWS outage in October 2025 show how fragile these systems can be.
- Tinkering locally, we learn how to set up hardware, firmware, and software: managing your own GPU infrastructure provides a deeper understanding of the systems that power modern AI. From BIOS configuration and driver setup to Docker and Conda environments, each layer teaches valuable skills that translate directly into real-world MLOps and engineering practice.
Running models locally offers major advantages: it’s far cheaper than using cloud GPUs, keeps your data fully private, and works even when cloud services fail. It also helps you build hands-on expertise with the hardware and software stack that powers modern AI.
You might also ask why not stick to a single computer, Ubuntu or MacOS, with an attached eGPU. That question has several layers:
- Even though I really like Ubuntu, MacOS offers in my opinion another level of user experience in general, which I find more polished than the Linux variant.
- In the past, Intel-based Macs supported AMD eGPUs, but since the introduction of the Apple M1, that option seems to have vanished.
- Ideally, I’d use MacOS with NVIDIA eGPU support, because NVIDIA chips are the industry standard.
- Another option would be to upgrade my MacBook Pro M1 to a MacStudio M3 Ultra or similar, which comes with a very powerful processor — but why abandon a perfectly capable MacBook Pro M1?
Setup Guide: A Summary
The GitHub repository I have created answers all the key questions and walks you through the complete setup process for getting an NVIDIA eGPU up and running. It includes detailed guidance on:
- Hardware requirements: What components do you need for an eGPU setup? Which GPUs and enclosures are compatible? How much VRAM do typical ML models require?
- Installation of Ubuntu and NVIDIA libraries: How do you install and configure Ubuntu so it works seamlessly with my external NVIDIA GPU?
Beyond the essentials, the guide also covers some practical extras that make the setup truly usable day to day:
- Installation of Docker with GPU support: Containerization is now a must in AI/ML workflows. Unfortunately, enabling full GPU acceleration inside Docker images can be tricky — this section provides a simple, reliable recipe that works.
- Remote access configuration: This section explains how to securely connect to the Ubuntu GPU machine from another device (e.g., a MacBook) within the same local network.
After you’ve completed the setup, you can verify that your eGPU is correctly recognized by running a quick check in the Mac’s terminal.
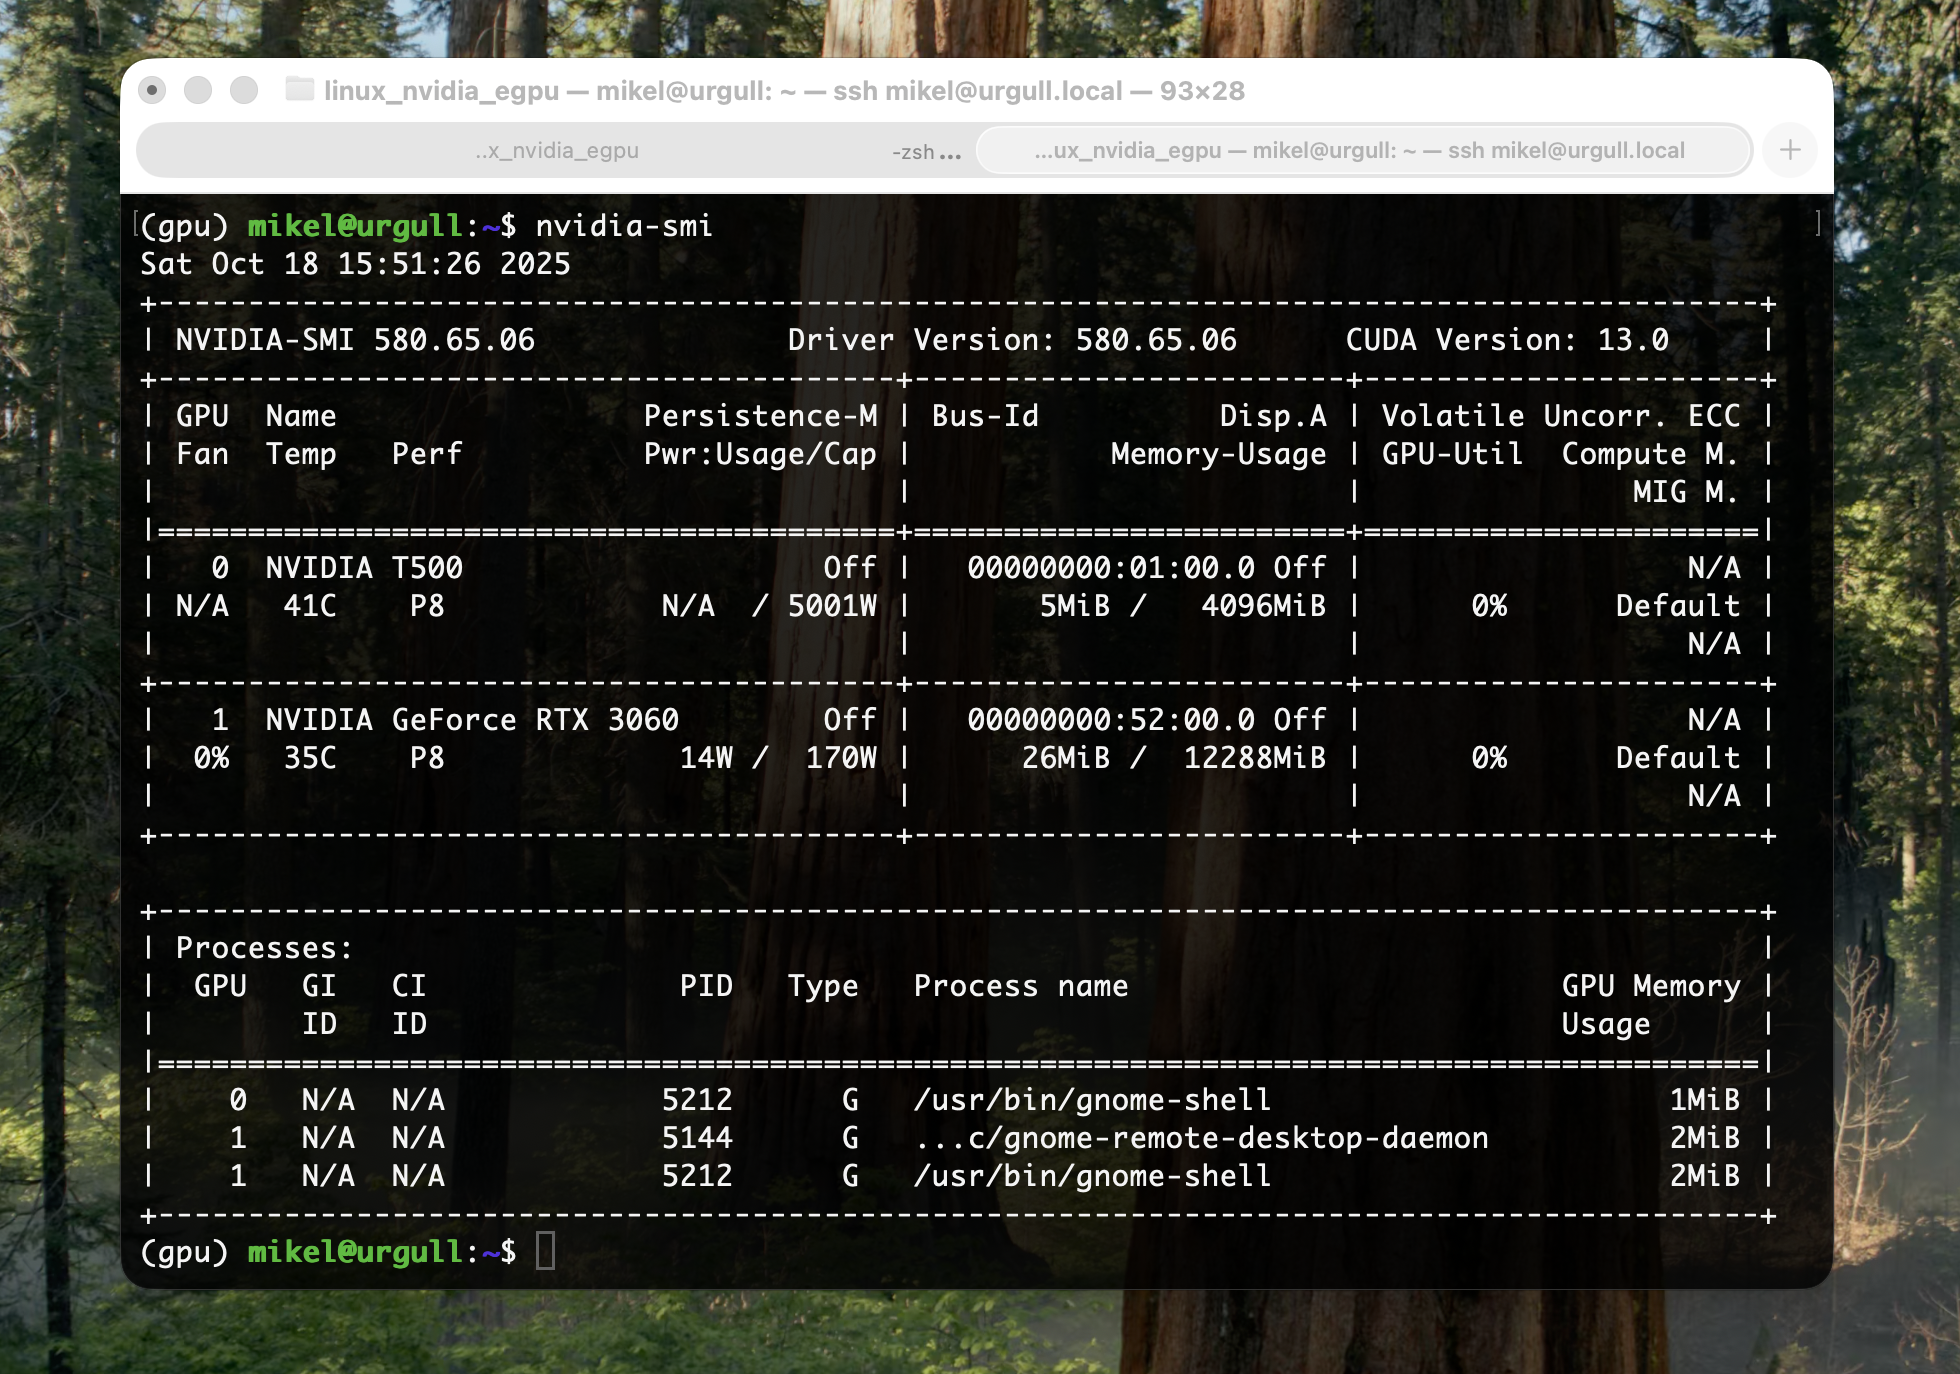 Snapshot of the
 nvidia-smi output on the Ubuntu machine (hostname: urgull) but executed from my MacBook (hostname: kasiopeia). We can see the eGPU and its load: NVIDIA GeForce RTX 3060, 14W / 170W used, 26MiB / 12288MiB used.
Using the eGPU: Remote VS Code and Ollama
Once we get the correct output from nvidia-smi, we can start using the eGPU. To that end, the guide GitHub repository contains a simple Jupyter notebook we can run: test_gpu.ipynb.
The way I prefer to run complete repositories remotely (i.e., on the Ubuntu machine but interfaced from the MacBook) is using a Remote VS Code instance. To start one, these are the preliminary steps we need to follow:
- Open the MacBook Terminal (make sure no VPN connections are active).
- SSH to the Ubuntu machine with our credentials.
- Clone the GitHub repository with the notebook test_gpu.ipynb.
- Install the GPU Conda environment.
Steps 1-4 are carried out with these commands:
# -- MacBook
ssh <username>@<hostname-ubuntu>.local
ssh mikel@urgull.local

# -- Ubuntu via MacBook
cd && mkdir -p git_repositories && cd git_repositories
git clone https://github.com/mxagar/linux_nvidia_egpu.git
conda env create -f conda.yaml.  # Create the 'gpu' environment
Then, we can start a remote VS Code instance:
- We open VS Code on our MacBook.
- Click on Open Remote Window (bottom left corner) > Connect to Host.
- We enter the user and host as in
<username>@<hostname-ubuntu>.local, followed by the password.
… et voilà: we have already a VS Code instance running on the Ubuntu machine, but interfaced by the MacBook UI! Now, we can open any folder, including the folder containing the notebook:
- Click on Explorer menu (left menu bar) > Open Folder.
- And, finally, we load our repository cloned in
~/git_repositories/linux_nvidia_egpu.
After selecting the gpu environment (kernel) for the test_gpu.ipynb notebook, we can start executing its cells.
Among others, a simple CNN is trained in the notebook using the MNIST dataset (~45MB). In my tests, the NVIDIA RTX 3060 completed training in 37 seconds, while the MacBook Pro M1 took about 62 seconds — nearly twice as fast on the eGPU.
In terms of memory, my MacBook has a unified memory of 16GB, vs. the 12GB VRAM of the RTX 3060. At first glance, the Mac’s chip seems superior to the NVIDIA’s. However, in practice, the NVIDIA GPU performs better for large models, because its VRAM is fully dedicated to GPU workloads, whereas the Mac’s unified memory is shared between CPU and GPU, which can lead to bottlenecks.
 Snapshot of the remote VS Code instance: the repository is on the Ubuntu machine with leveraging the eGPU (hostname:
 urgull), but interfaced from my MacBook (hostname: kasiopeia).
── ◆ ──
Another application I use quite extensively with the eGPU is Ollama, which enables local Large Language Models (LLMs) for a plethora of tasks.
To run Ollama on the eGPU but interfaced from the MacBook, first, we need to install it properly on both machines. Then, we can follow these easy commands to start a chatbot via the CLI:
# -- Ubuntu (...or via ssh from MacBook)
# Make sure Ollama uses GPU and is accessible in our LAN
export OLLAMA_USE_GPU=1
export OLLAMA_HOST=0.0.0.0:11434
# Download a 9.1GB model (takes some minutes) and start the Ollama server
ollama pull gemma3:12b
ollama serve &

# -- MacBook
# Change the Ollama host to the Ubuntu machine
export OLLAMA_HOST=urgull.local:11434
ollama run gemma3:12b
# ... now we can chat :)

# To revert to use the local MacBook Ollama service
export OLLAMA_HOST=127.0.0.1:11434
The result is summarized on the following snapshot:
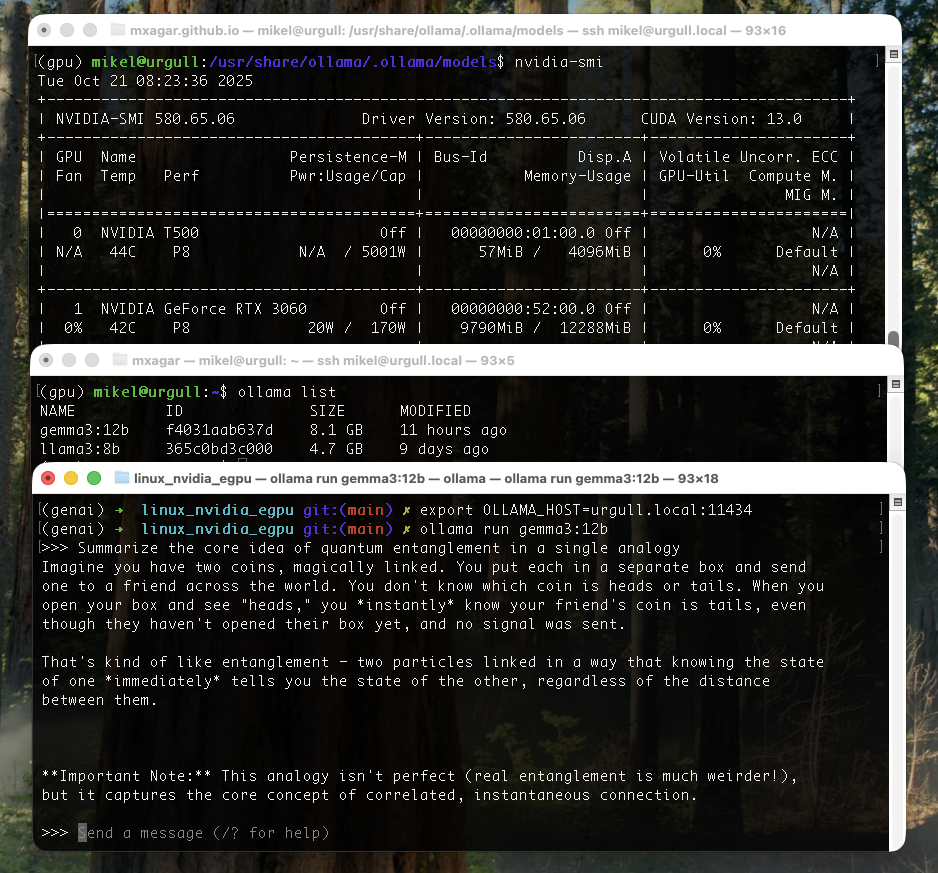 Gemma 3 12B running on the Ubuntu eGPU via Ollama, but operated from the MacBook.
The Ollama server can be also reached from our LAN using cURL:
curl http://urgull.local:11434/api/generate -d '{
  "model": "gemma3:12b",
  "prompt": "Write a haiku about machine learning."
}'
Of course, there are many useful and more interesting downstream applications:
- Private chatbot with proper GUI, history, document upload and internet access
- Copilot-style code completion
- Agents: Autonomous CLI Agents, Local Operator, Ollama MCP Agent, etc.
- …
However, those applications are not in the scope of this post — maybe I will introduce them in another one ;)
Wrap Up
In this post, I’ve shared the motivation and architecture behind my personal eGPU server setup — a compact yet powerful alternative to commercial “AI workstations”. The combination of a Linux GPU server (NVIDIA RTX 3060) and a MacBook (Pro M1) client creates a seamless environment for experimentation: you can train models efficiently, run large LLMs locally via Ollama, and enjoy the responsive UI and ecosystem of macOS for daily work.
Running models locally is not only cost-effective but also empowers you to work autonomously, privately, and creatively, without depending on cloud services.
Would you prefer to build your own local AI workstation, or do you trust cloud services enough to rely on them entirely? What would be your ideal balance between local and cloud compute?
If you’re interested in a step-by-step guide, check my Github repository of the project.